Digital resources
Filter:
I agree to the embed code usage and conditions
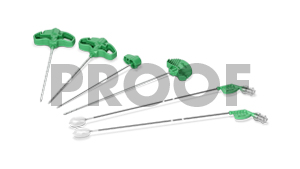
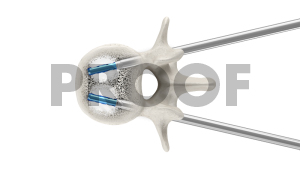
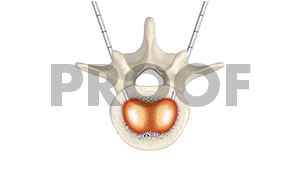
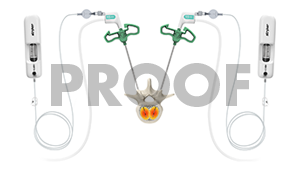
iVAS® Elite balloon system: 11 gauge bipedicular kit
D0000124762

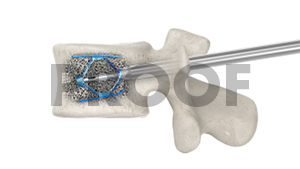
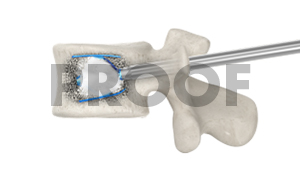
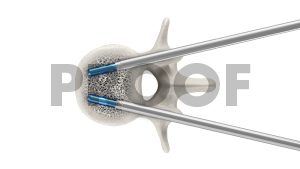
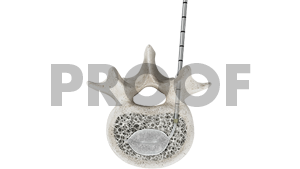
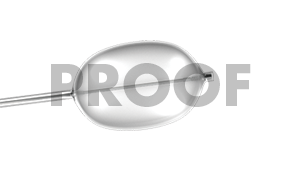
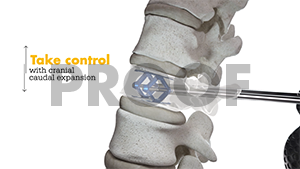
iVAS® Elite balloon system: expanded balloon
D0000124763
iVAS® Elite balloon system procedure video
D0000121535
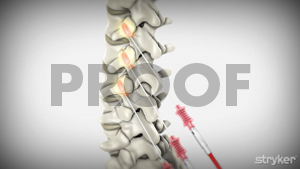
SpineJack® system: procedure lateral view without cement, expanded
D0000124765
SpineJack® system: lateral view of expanded SpineJack with partial cement fill
D0000124766
SpineJack® system: axial view with partial cement, unexpanded
D0000124767
SpineJack® system: axial view, unexpanded
D0000124768
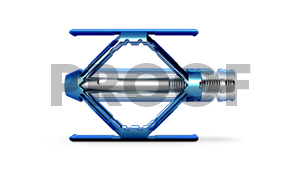
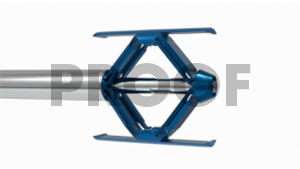
SpineJack® system: 5.0mm expanded implant
D0000124769
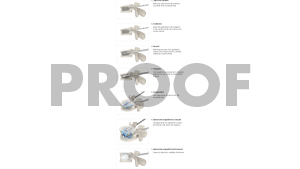
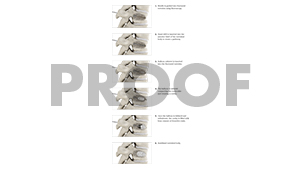
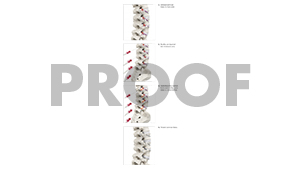
SpineJack® system: step-by-step procedure
D0000124771
Vertebral augmentation procedure with SpineJack® system video
D0000121532
SpineJack® system: expanding implant GIF
D0000124770

Why treat vertebral compression fractures (VCFs) video
D0000122345
Balloon kyphoplasty: step-by-step procedure
D0000124773
Sacroplasty: lateral view, partial cement fill
D0000124781
Venom® cannula and electrode system: lumbar, spine procedure
D0000124783

Venom® cannula and electrode system: genicular procedure
D0000124784
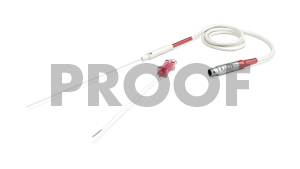
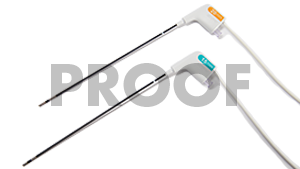
Venom® cannula and electrode system: 18 gauge
D0000124785

Venom® cannula and electrode system and standard cannula
D0000124786

Venom® cannula and electrode system: needle close-up showing v-tip
D0000124787
Radiofrequency ablation: step-by-step procedure
D0000124788

Radiofrequency ablation procedure overview video
D0000122506
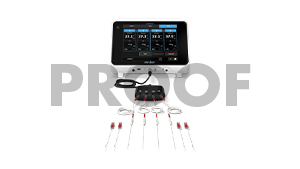
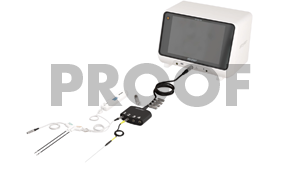
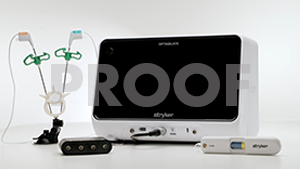
MultiGen® 2 radiofrequency generator and Venom® cannula and electrode system: straight on view
D0000124789
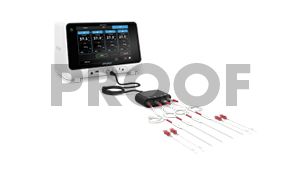
MultiGen® 2 radiofrequency generator: angled platform view
D0000124791
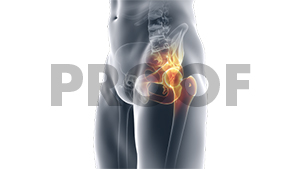
Hip pain highlighted on body
D0000124793
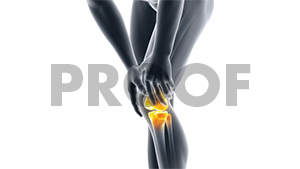
Knee pain highlighted on body
D0000124794
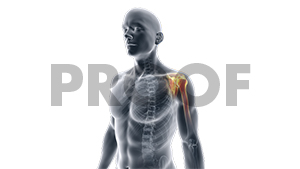
Shoulder pain highlighted on body
D0000124795
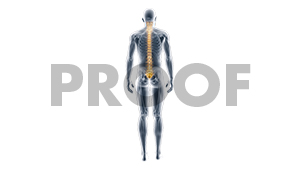
Spine highlighted on full body, standing male
D0000124796
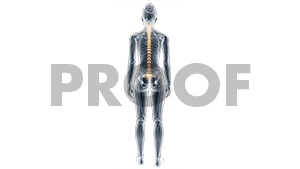
Spine highlighted on full body, standing female
D0000124797
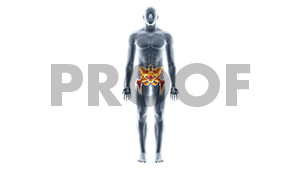
Pelvis highlighted on full body, standing male
D0000124802
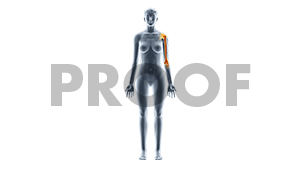
Humerus highlighted on full body, standing female
D0000124803
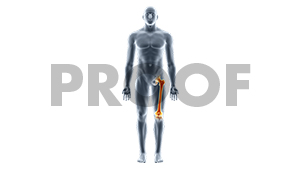
Femur highlighted on full body, standing male
D0000124804
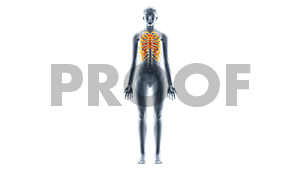
Ribs highlighted on full body, standing female
D0000124805
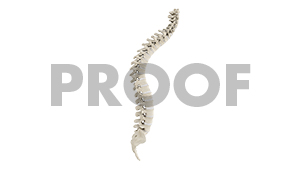
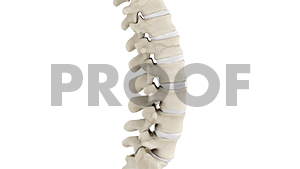
Spinal column with vertebral compression fracture
D0000124798

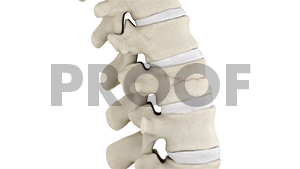
Vertebral compression fracture in vertebra
D0000124799
Vertebral compression fracture in vertebra: three level
D0000124800
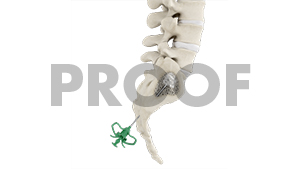
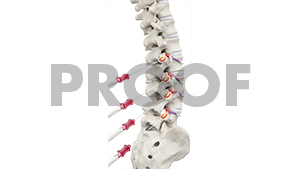
Spine with lumbar vertebral compression fracture
D0000124772
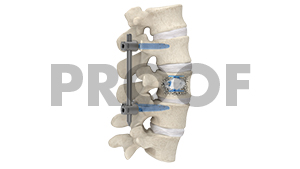
Spine with traumatic vertebral compression fracture: three vertebrae with screws
D0000124801
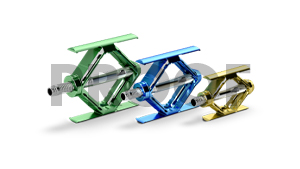
SpineJack® system: three implant sizes
D0000124764

Sacroplasty procedure video
D10000021044
Mechanical vertebral augmentation with the SpineJack system procedure—animation
D0000097592
Vertebral augmentation procedure with iVAS Elite balloon system—animation
D0000097595
OmniCurve curved balloon system: procedure with inflated balloon
D0000259480
OmniCurve curved balloon system: close-up balloon
D0000259479
OmniCurve curved balloon system: step-by-step procedure
D0000260998
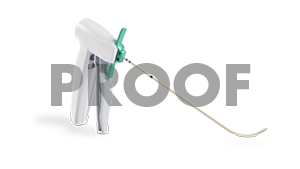
OmniCurve curved balloon system: angled product view
D0000259482
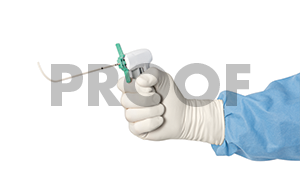
OmniCurve curved balloon system: holding product
D0000259483
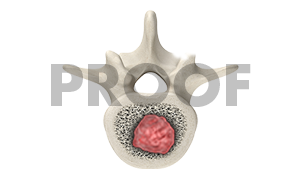
OptaBlate bone tumor ablation procedure: axial lumbar tumor
D0000259531
OptaBlate bone tumor ablation system: product rotation
D0000261002
OptaBlate bone tumor ablation procedure: axial lumbar beans inside (20mm)
D0000259478
OptaBlate bone tumor ablation system: 15mm and 20mm probes
D0000259534
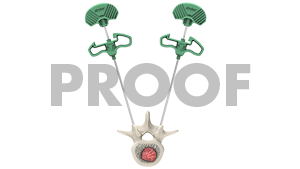
OptaBlate bone tumor ablation procedure: bipedicular ablation
D0000261011
OptaBlate bone tumor ablation system
D0000261001
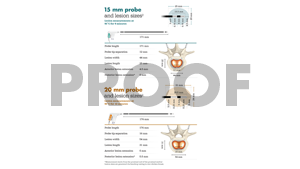
OptaBlate bone tumor ablation procedure: 15mm and 20mm lesion size chart
D0000261000
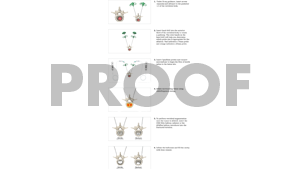
Optablate bone tumor ablation step-by-step procedure
D0000260999
OptaBlate bone tumor ablation system: hand drill with tumor
D0000259645
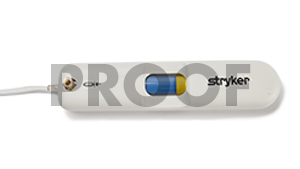
OptaBlate bone tumor ablation system: microinfuser
D0000259651

OptaBlate bone tumor ablation system: launch video
D0000219644

Kyphoplasty patient testimonial: T11 vertebral compression fracture
D0000202856
Venom® cannula and electrode system procedure video
D0000124782
Vertebral augmentation procedure with OmniCurve balloon system—animation
IVS-OMNI-ANIM-814394
Stryker’s SpineJack system
D0000122345
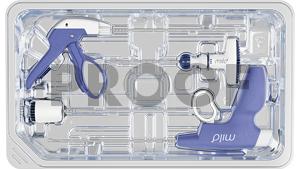
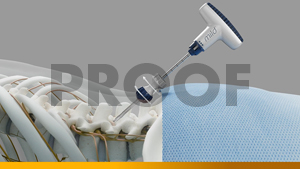
mild® device kit
IVS-MILD-PHOT-1524412_REV-0

mild® supporting visual: ESI Paper
IVS-MILD-GRAP-1550950_REV-0
mild® supporting visual: MIST 2.0 society guidelines
IVS-MILD-GRAP-1550988_REV-0

mild®: step-by-step procedure
IVS-MILD-GRAP-1550850_REV-0

mild® procedure: physician training video
IVS-MILD-VID-1393351_REV-0
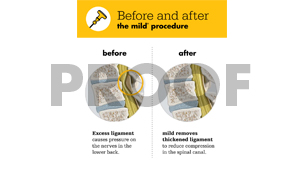
mild® procedure: before and after
IVS-MILD-GRAP-1580400_REV-0
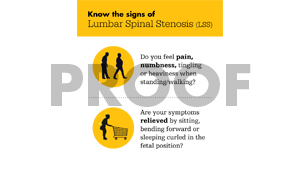
mild®: know the signs of LSS
IVS-MILD-GRAP-1580438_REV-0

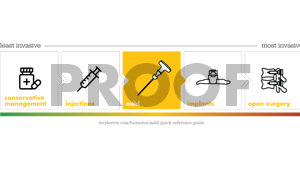
mild®: animated banner
IVS-MILD-ANIM-1850526_REV-0

mild® may be your next step
IVS-MILD-INFO-1915311_REV-0

mild® patient education video (with captions)
IVS-MILD-VID-1621800-REV-0
mild® patient education video (without captions)
IVS-MILD-VID-1621800-REV-0

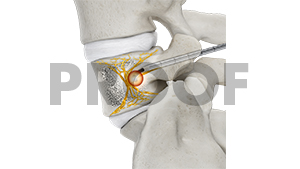
OptaBlate® BVN axial vertebral body with lesion
IVS-OPTABVN-PHOT-2273387_REV-0
OptaBlate® BVN lateral vertebral body with lesion
IVS-OPTABVN-PHOT-2273366_REV-0

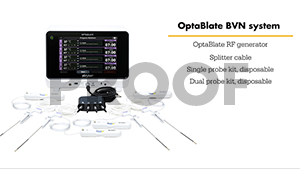
OptaBlate® BVN generator with 4 probes
IVS-OPTABVN-PHOT-2269721_REV-0
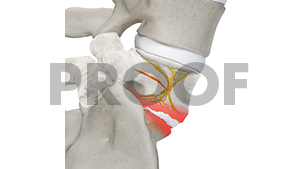
OptaBlate® BVN damaged endplates—no probe
IVS-OPTABVN-PHOT-2269742_REV-0

OptaBlate® BVN damaged endplates—with probe
IVS-OPTABVN-PHOT-2273345_REV-0
OptaBlate® BVN procedure video
IVS-OPTABVN-VID-1931851_REV-0

OptaBlate® BVN step-by-step procedure
IVS-OPTABVN-PHOT-2273443_REV-0
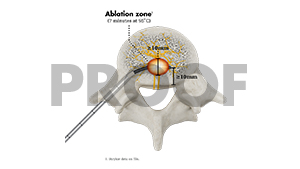
OptaBlate® BVN ablation safe zone
IVS-OPTABVN-GRAP-2269700_REV-0

OptaBlate® BVN launch video
DOC# IVS-OPTABVN-VID-1388150_REV-0
OptaBlate® BVN patient animation
IVS-OPTABVN-ANIM-2075651_REV-1