OptaBlate® bone tumor ablation system
Turning two strengths into one
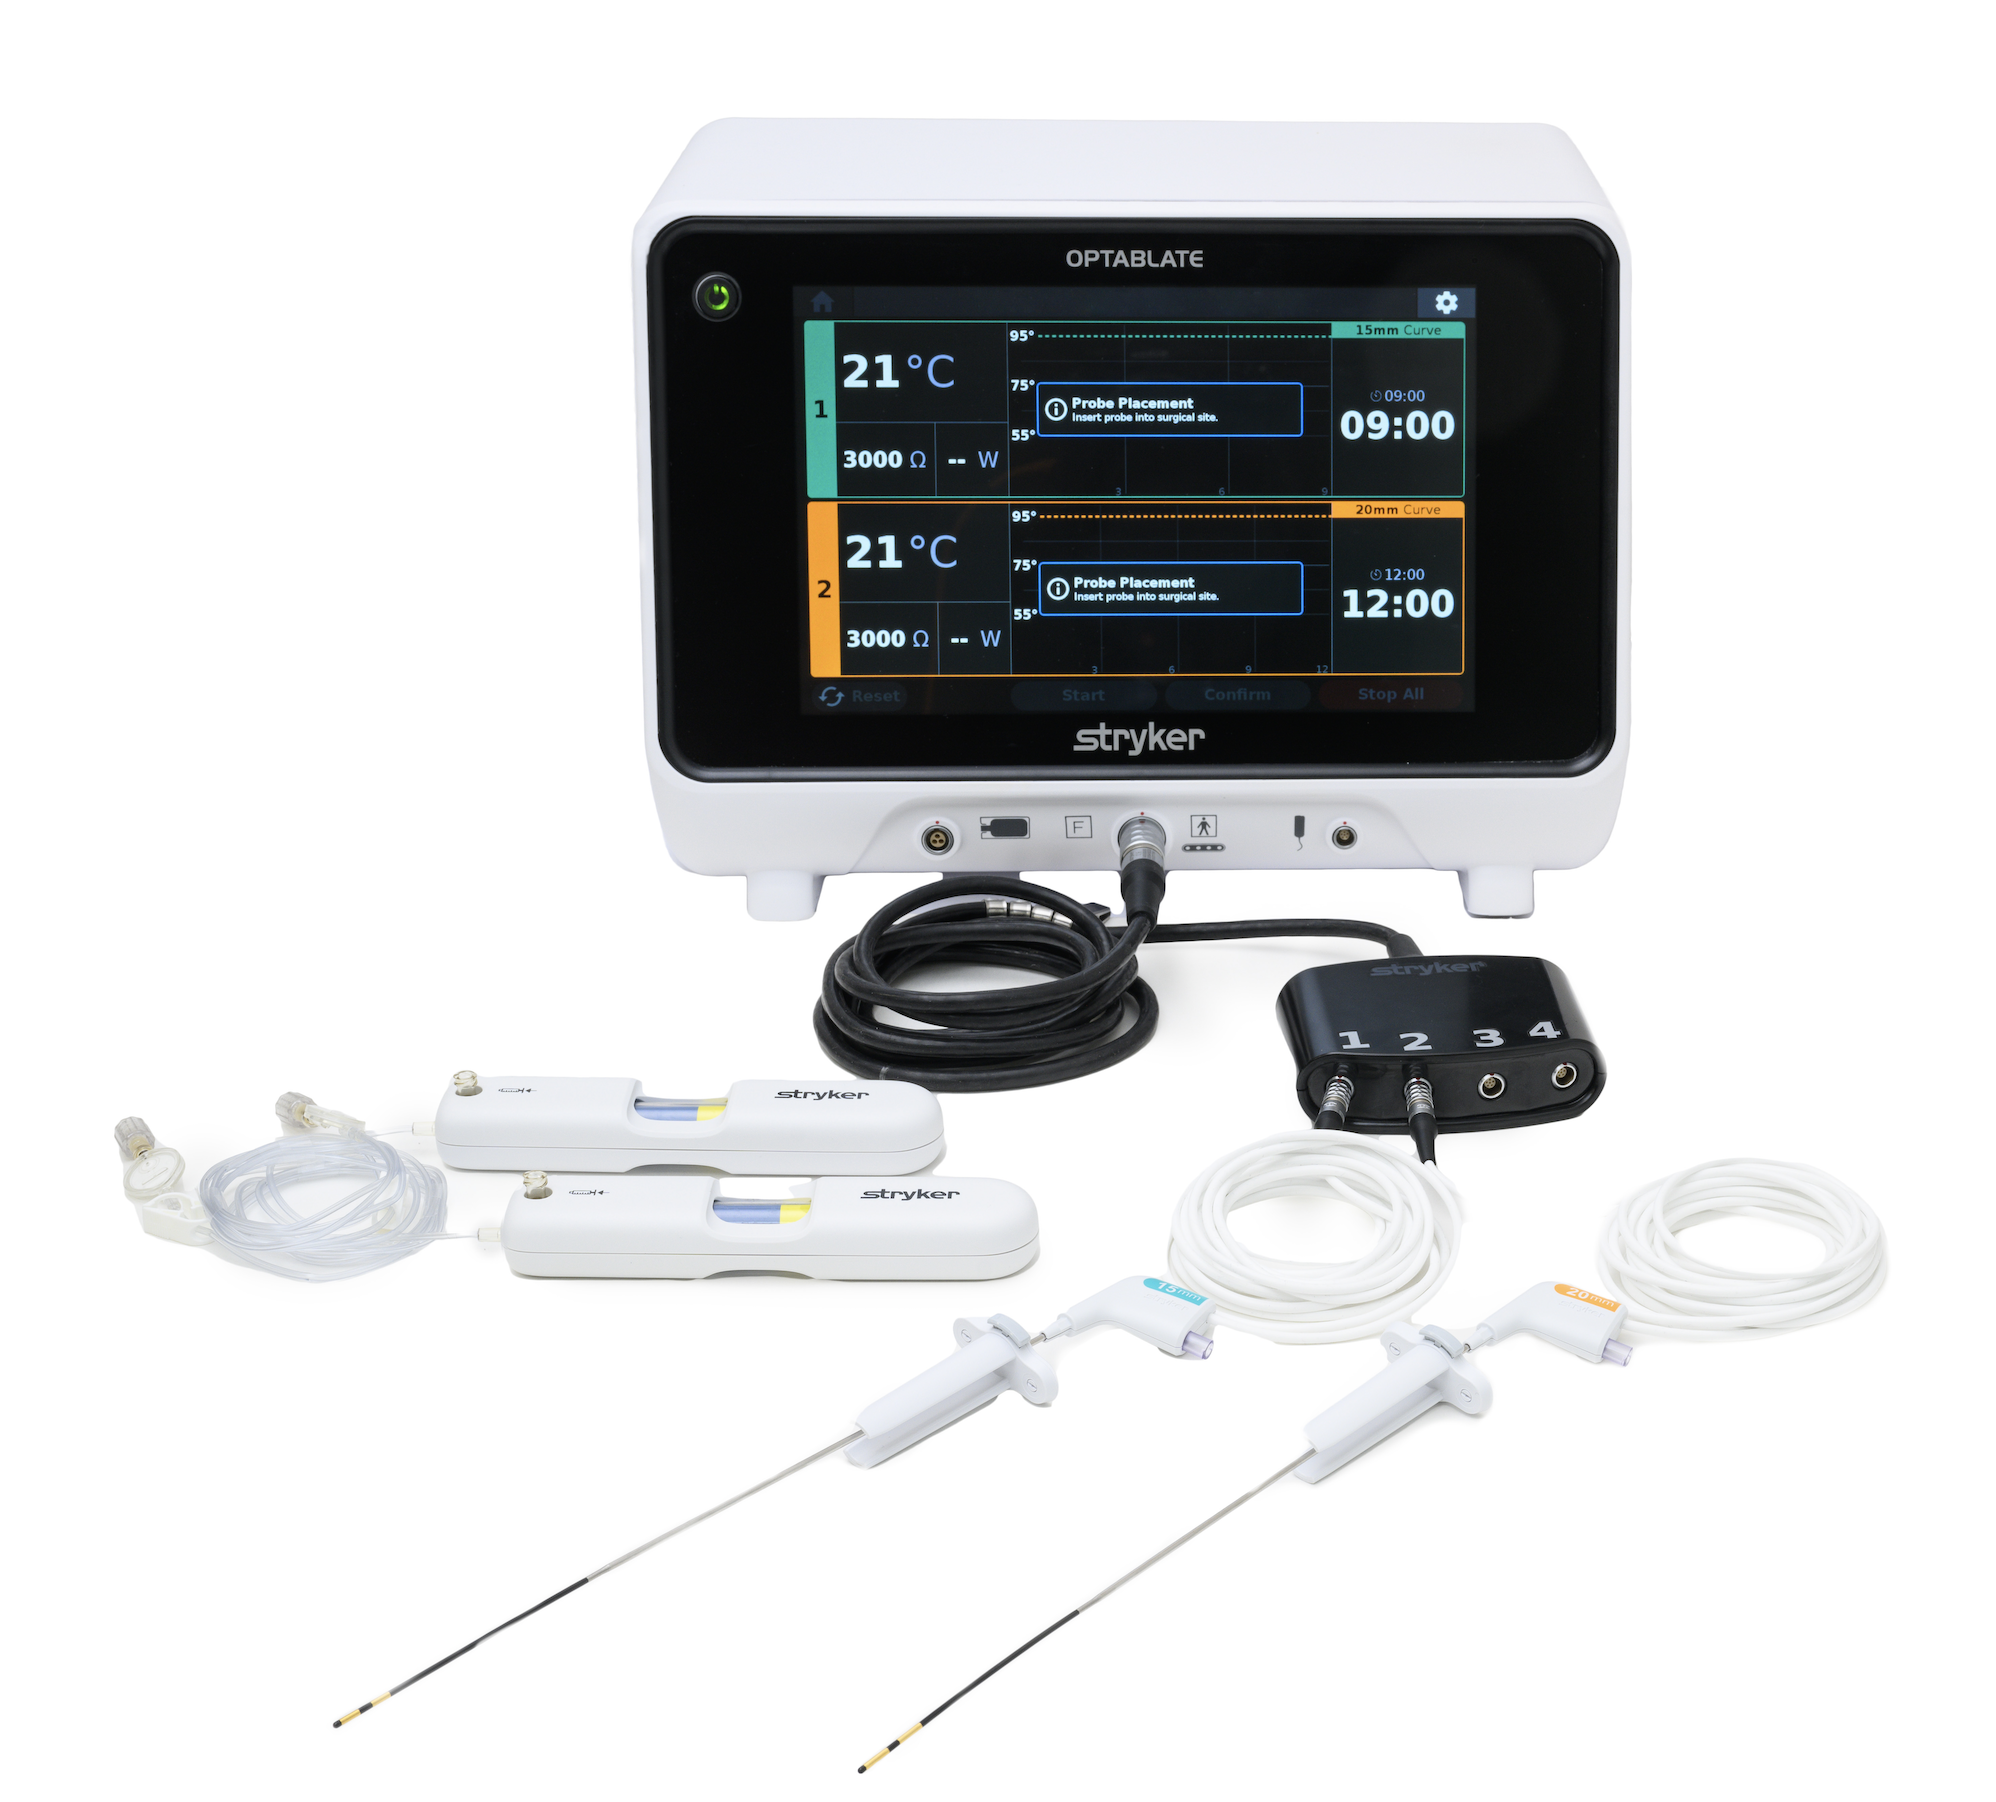
The OptaBlate bone tumor ablation system seamlessly integrates Stryker’s two core competencies—vertebral augmentation and radiofrequency ablation—into a single, comprehensive solution for treating bone tumors. With an expanded portfolio of SKUs, we now offer more probe options than ever, giving you greater flexibility to choose the right solution for your patients.*
Together, we can reach more patients who need relief from painful bone tumors.
Expanding your options
OptaBlate probes come in both straight and curved 10mm, 15mm and 20mm sizes, allowing you to treat a wider range of patient anatomies. With an expanded portfolio of SKUs, we offer more probe options than ever, giving you greater flexibility to find the right solution for each patient.*
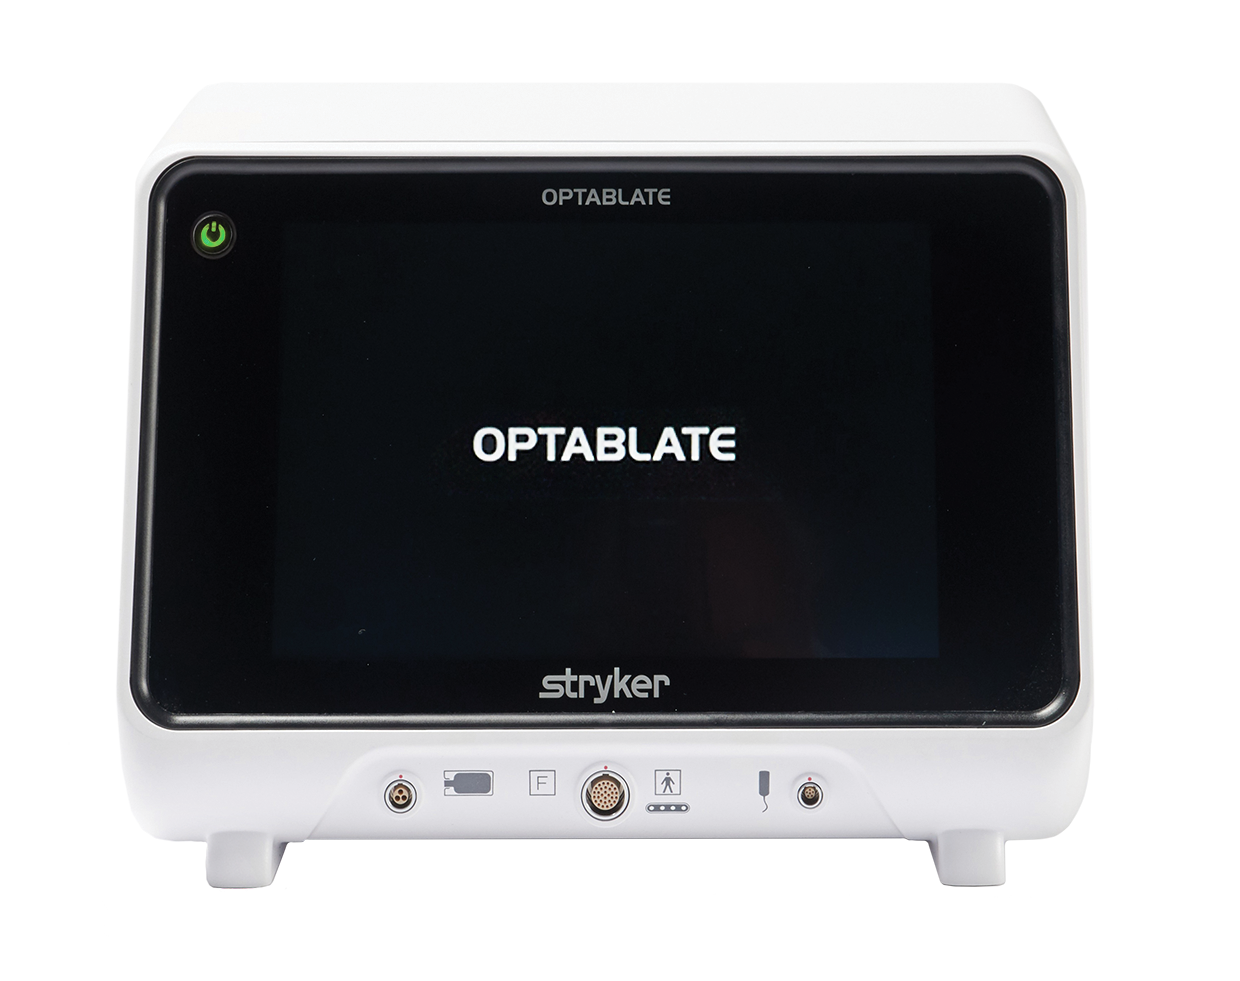
Simplified from start to finish
From the size of the package to the simplicity and speed of the setup, OptaBlate is designed for easy use. The OptaBlate generator allows you to customize your procedure through ablation settings with different combinations of time and temperature.
Established reliability
Leave bulky cooling lines and frustrating error messages in the past. OptaBlate infuses the lesion site with a simple-yet-revolutionary Microinfuser1 for quicker, more consistent ablations.2 The microinfusion technology is designed to reduce impedance errors and prevent charring.2
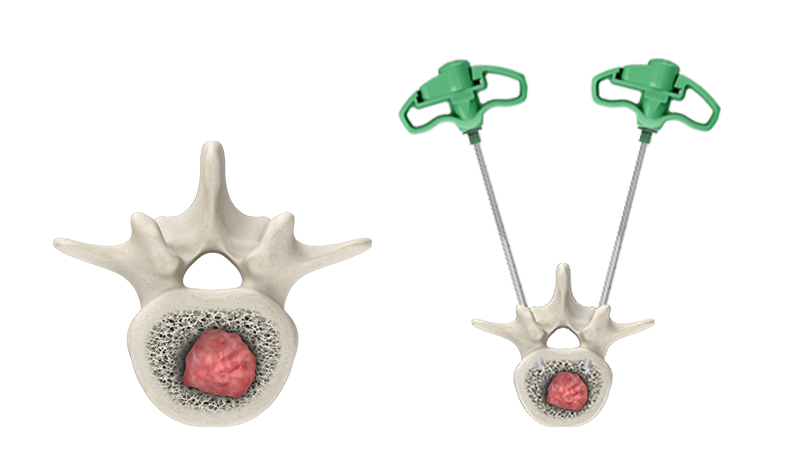
Procedure
1
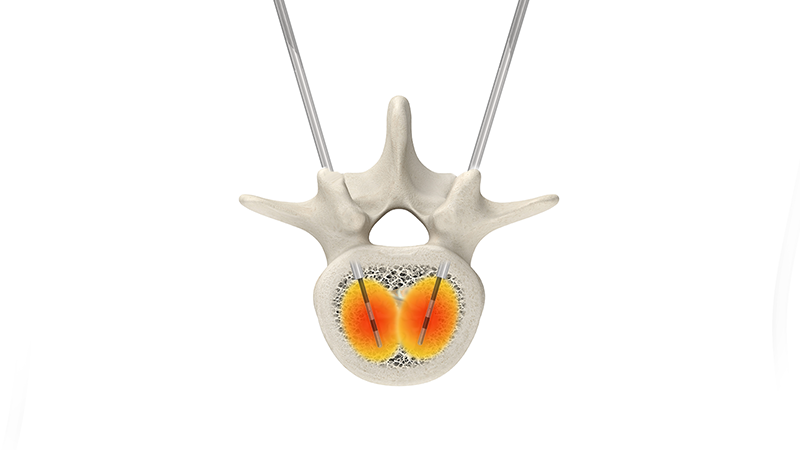
Under x-ray guidance, insert access cannulas and advance to the posterior 1/3 of the vertebral body.
2
Insert hand drill into the anterior third of the vertebral body to create a pathway. The color bands on the hand drill will help you determine which probe size is appropriate for the ablation. Teal indicates a 15mm probe, orange indicates a 20mm probe and purple indicates a 10mm probe.
3
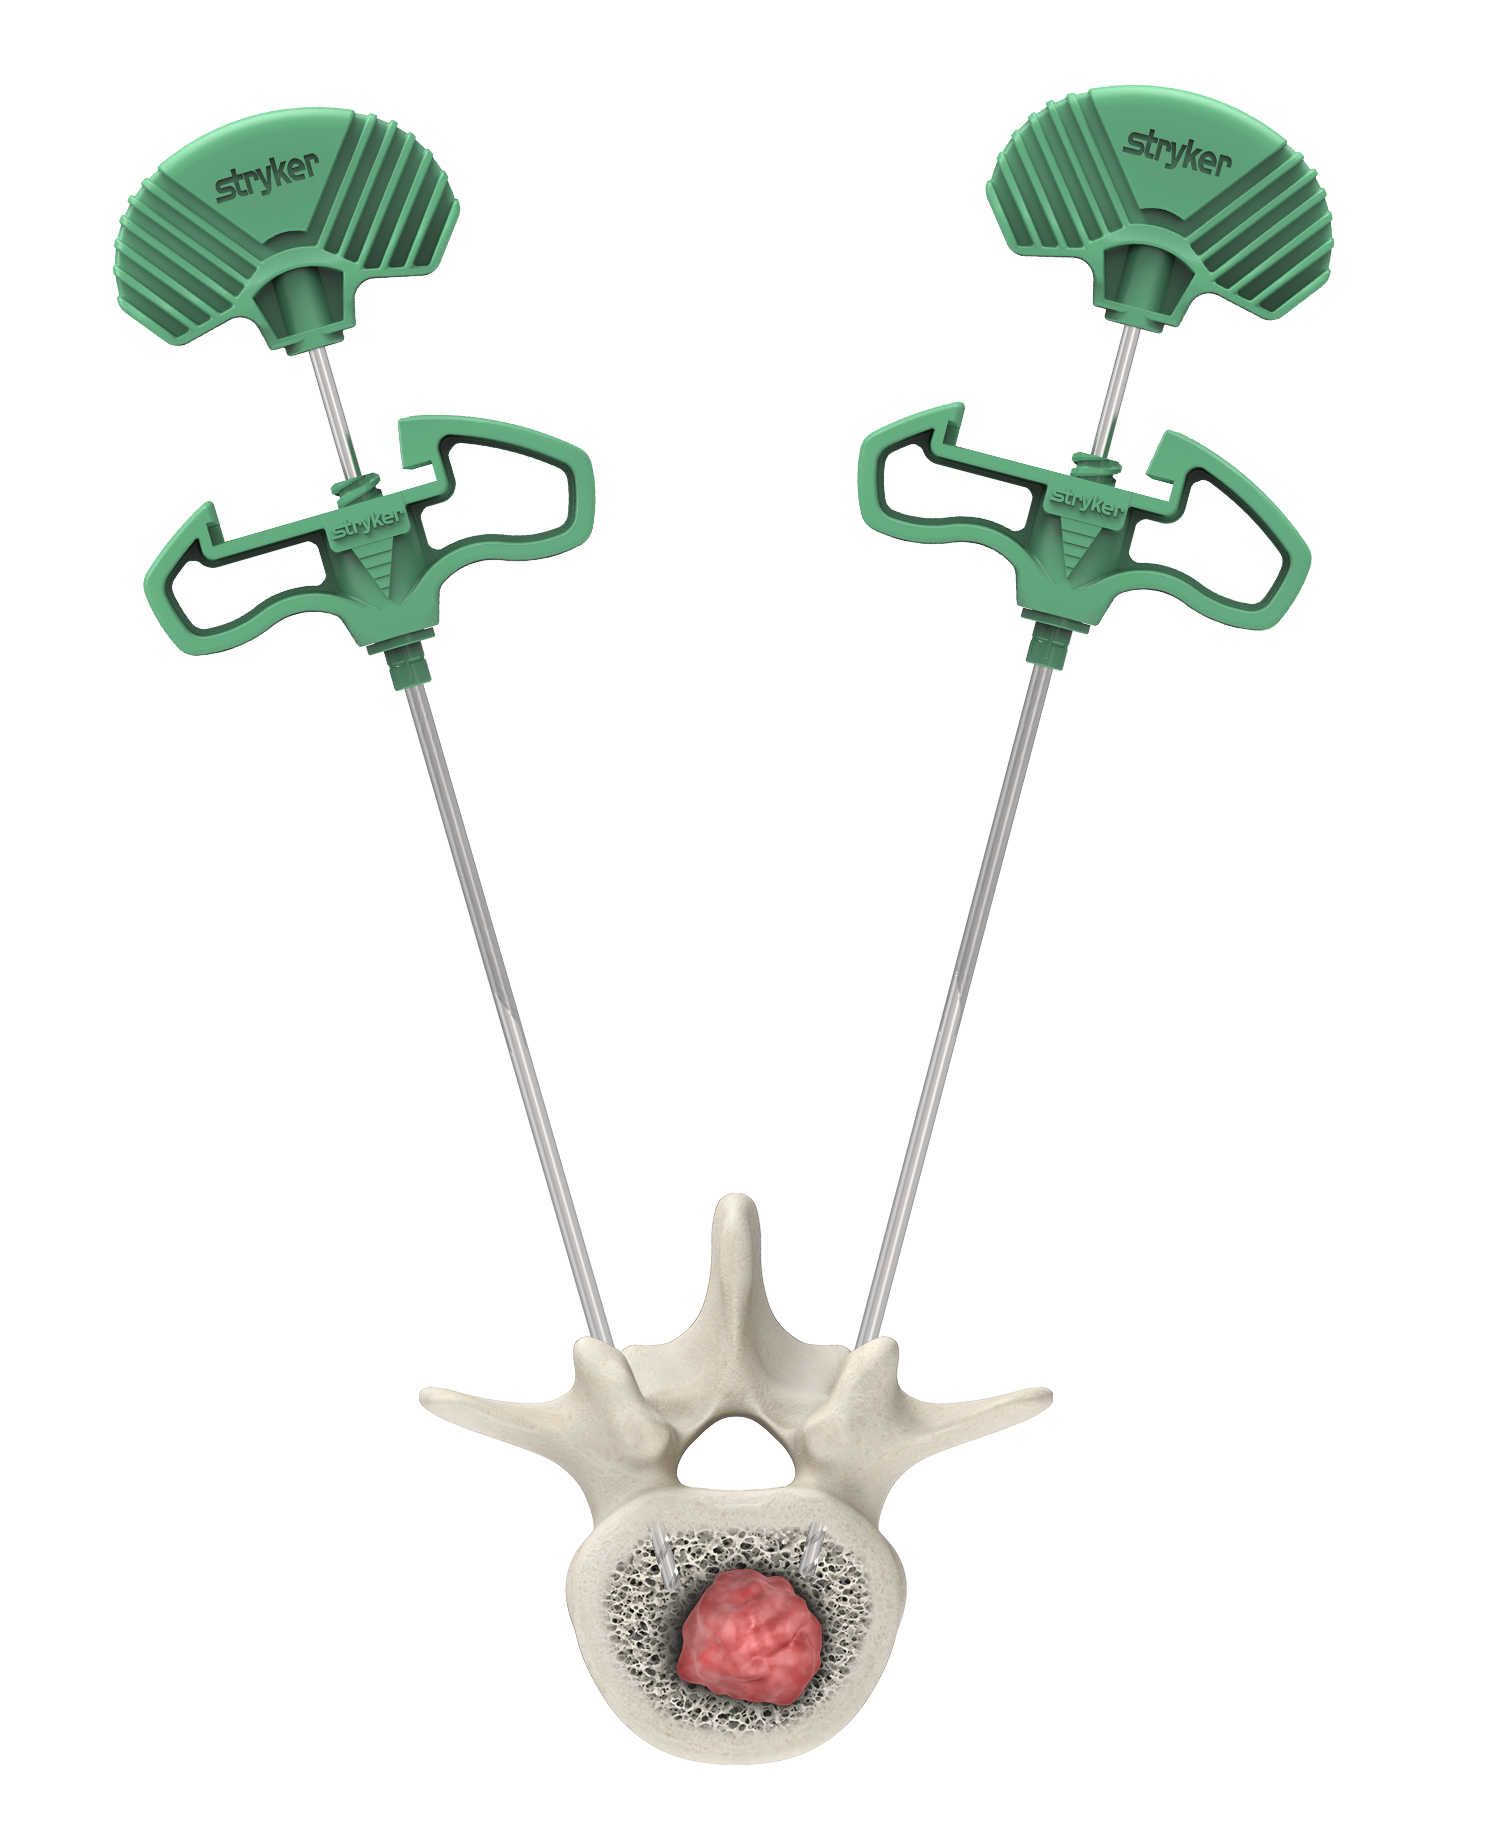
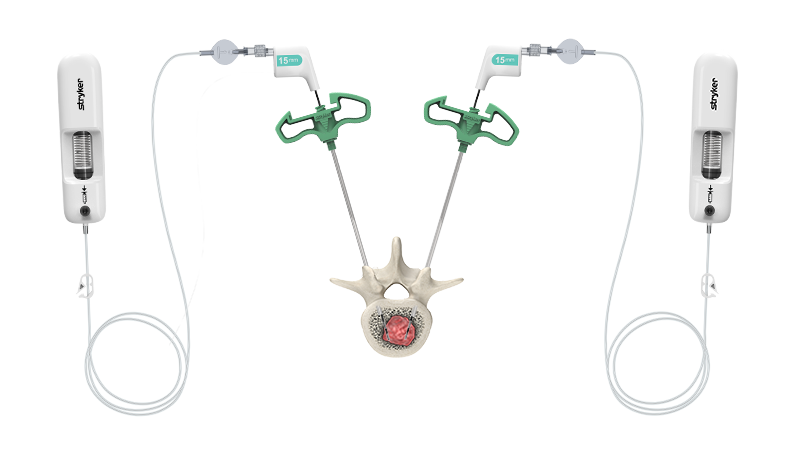
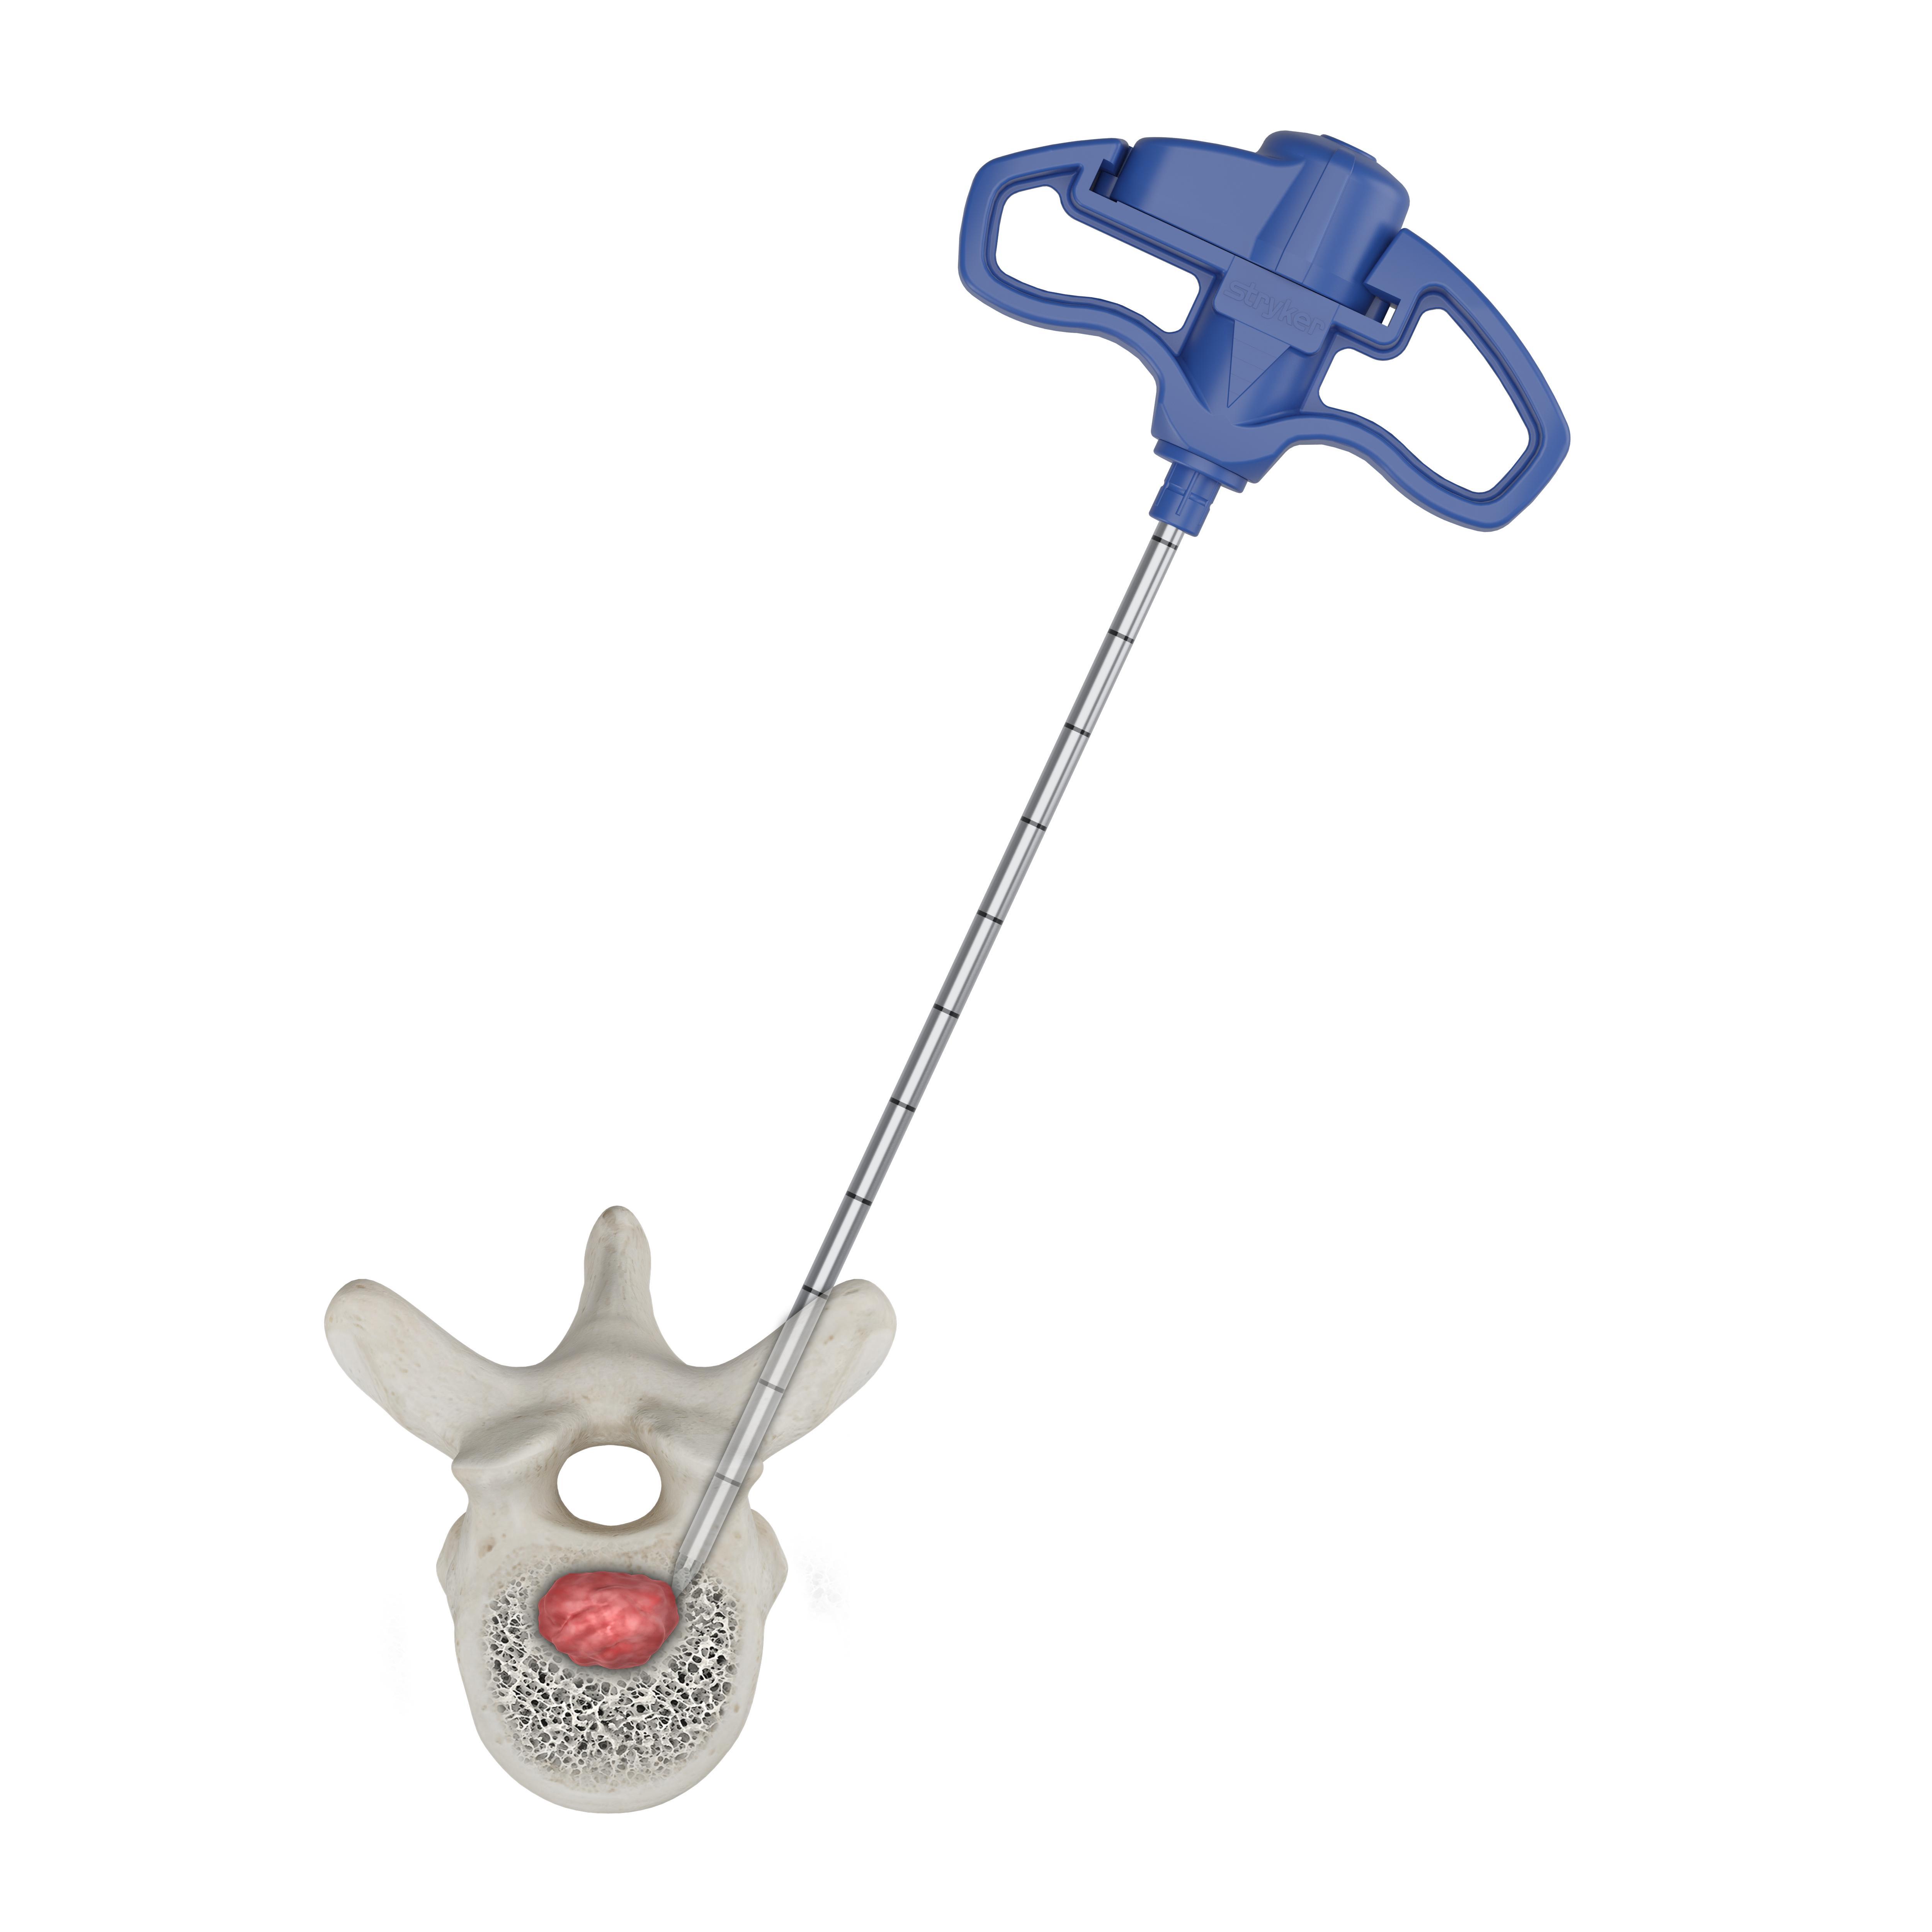
Insert OptaBlate probes and connect microinfuser to begin the flow of sterile saline to the lesion site.
4
Ablate surrounding tissue using radiofrequency energy.
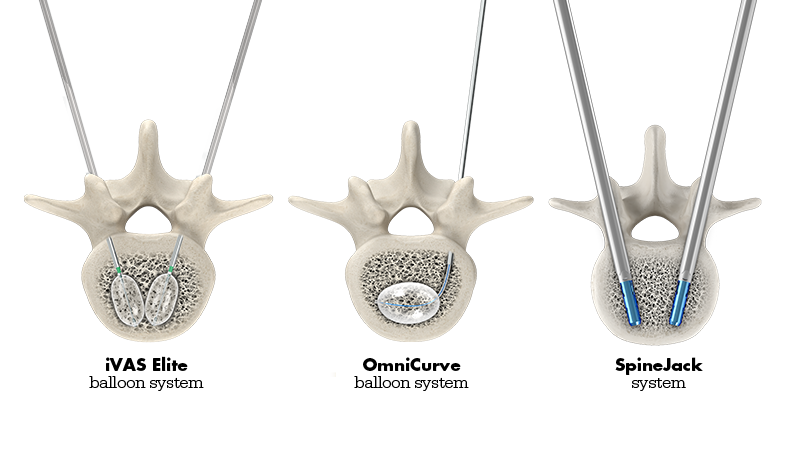
If performing vertebral augmentation, refer to the Instructions for Use (IFU) for the selected device.
1
Under x-ray guidance, insert access cannula and advance to the posterior 1/3 of the vertebral body.
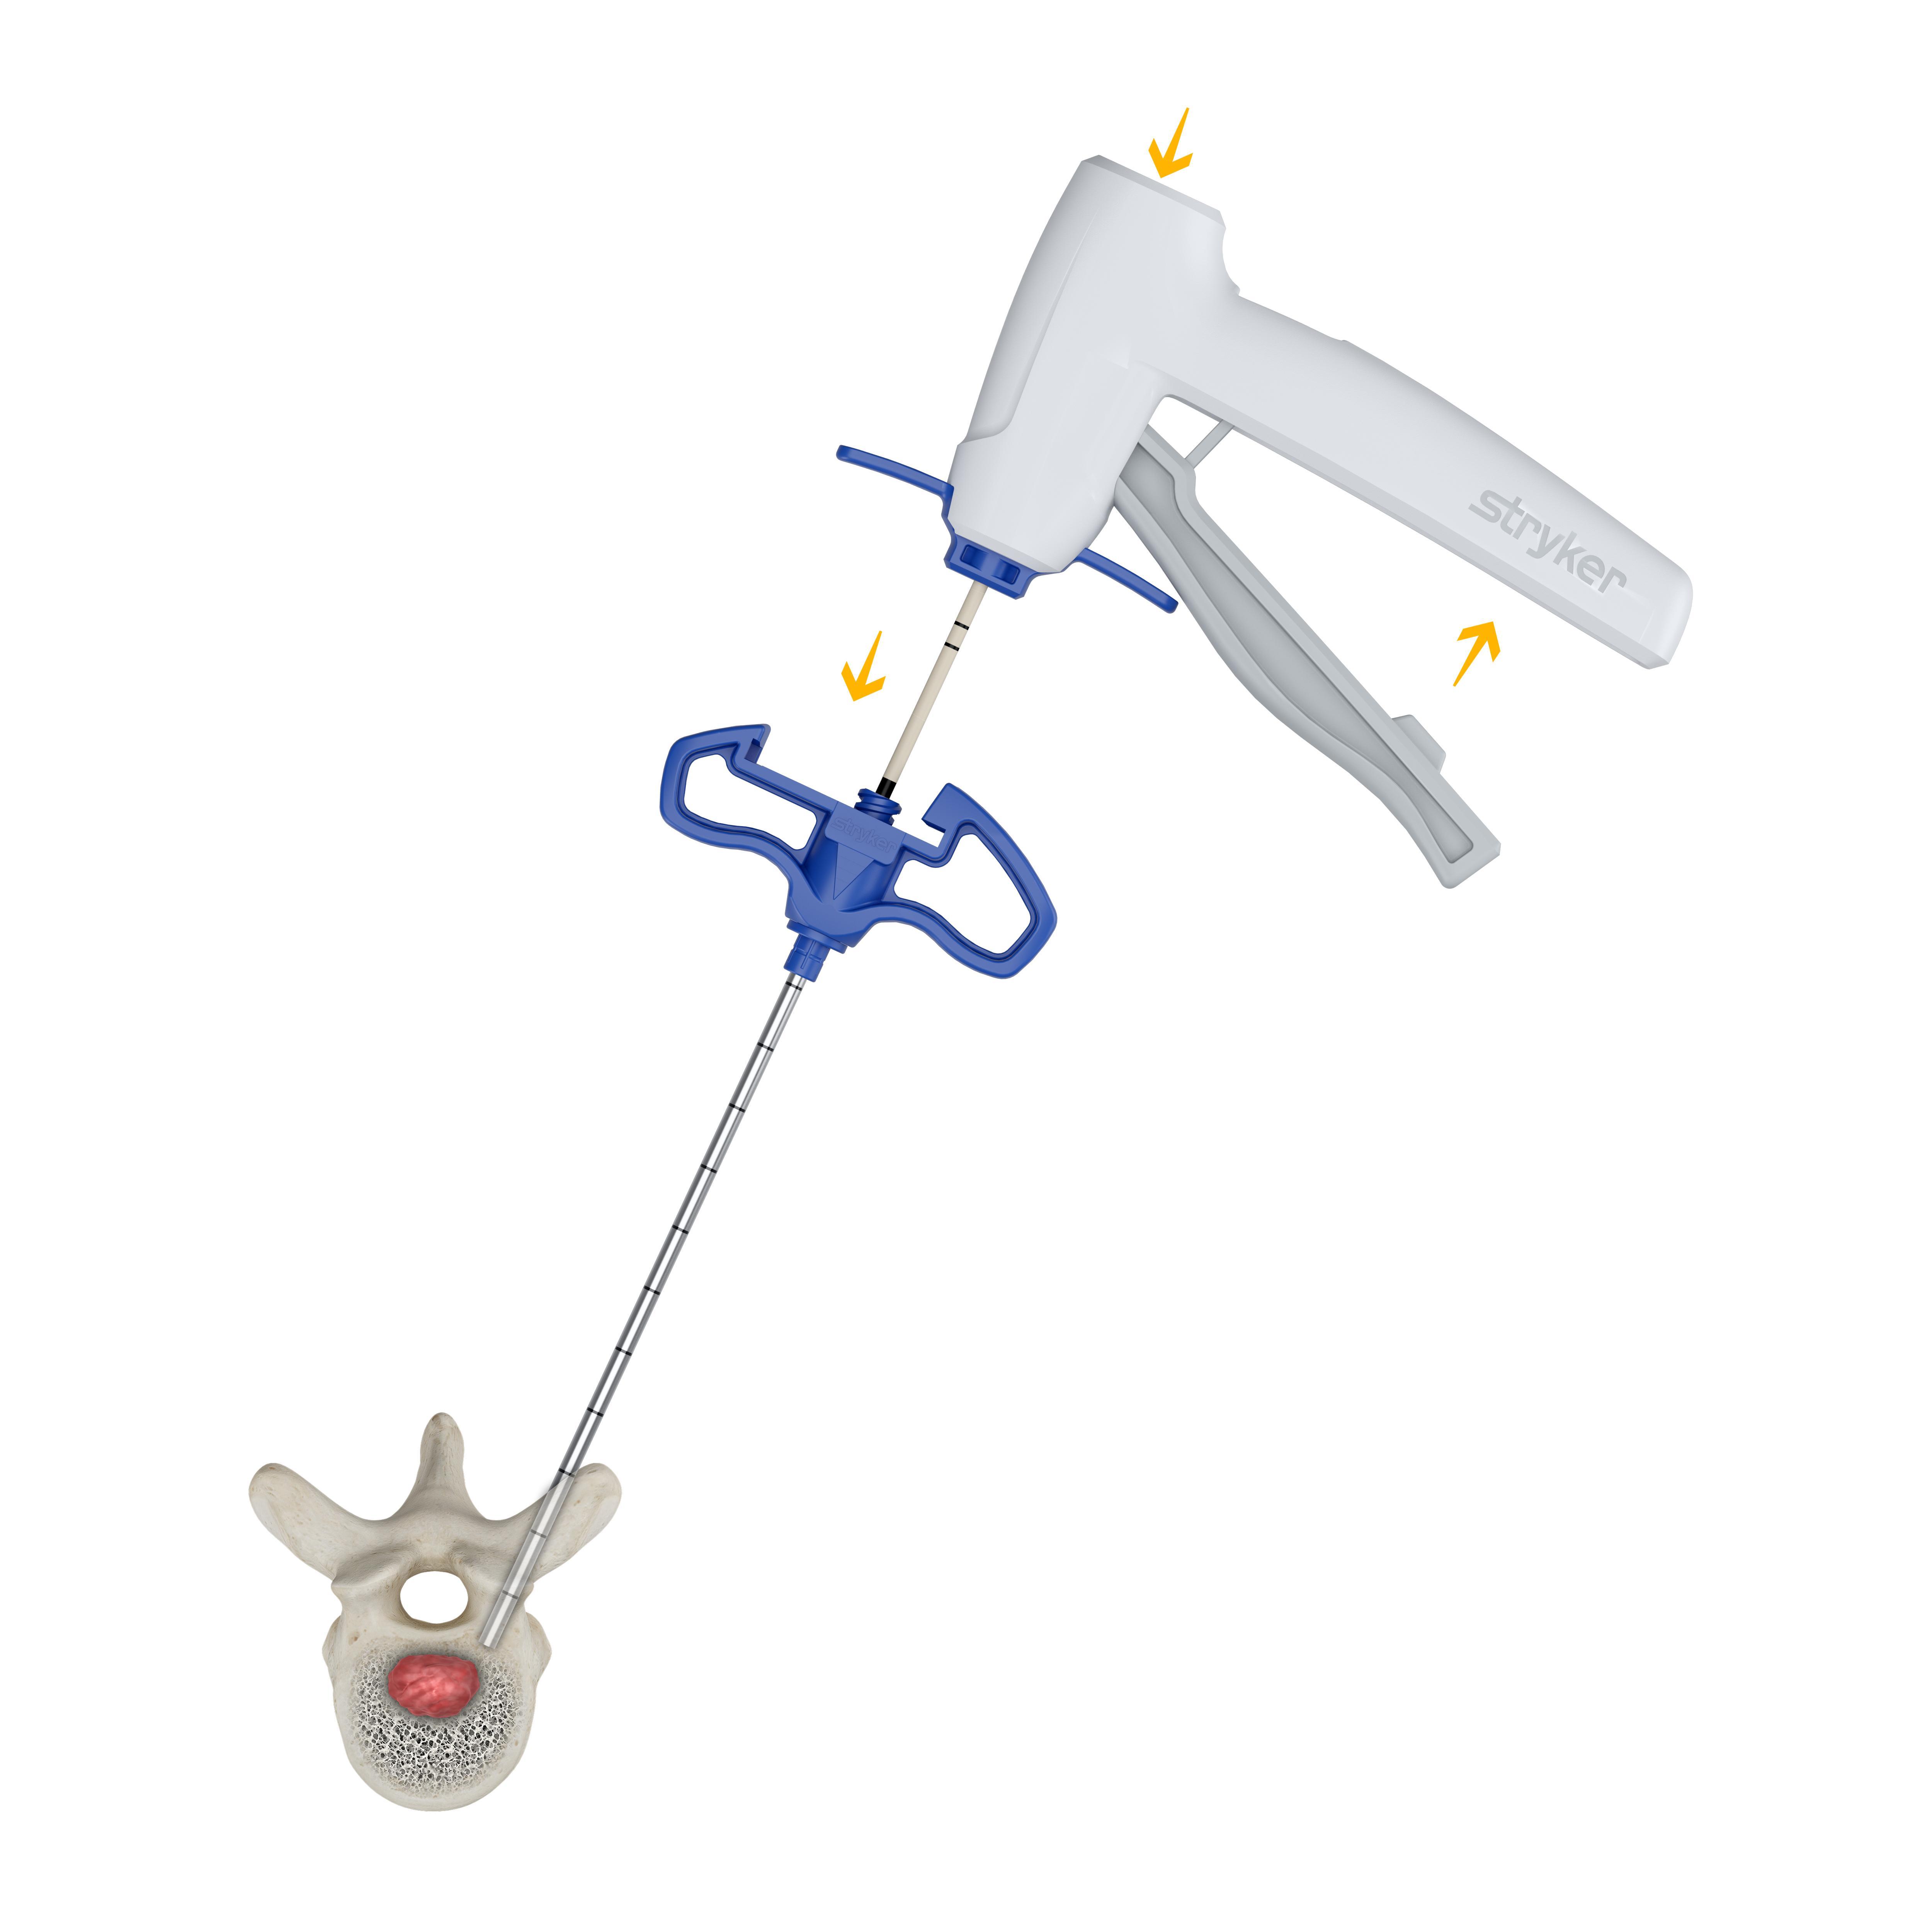
2
Insert introducer with sheath, then squeeze the gray introducer lever. Advance introducer using a mallet.
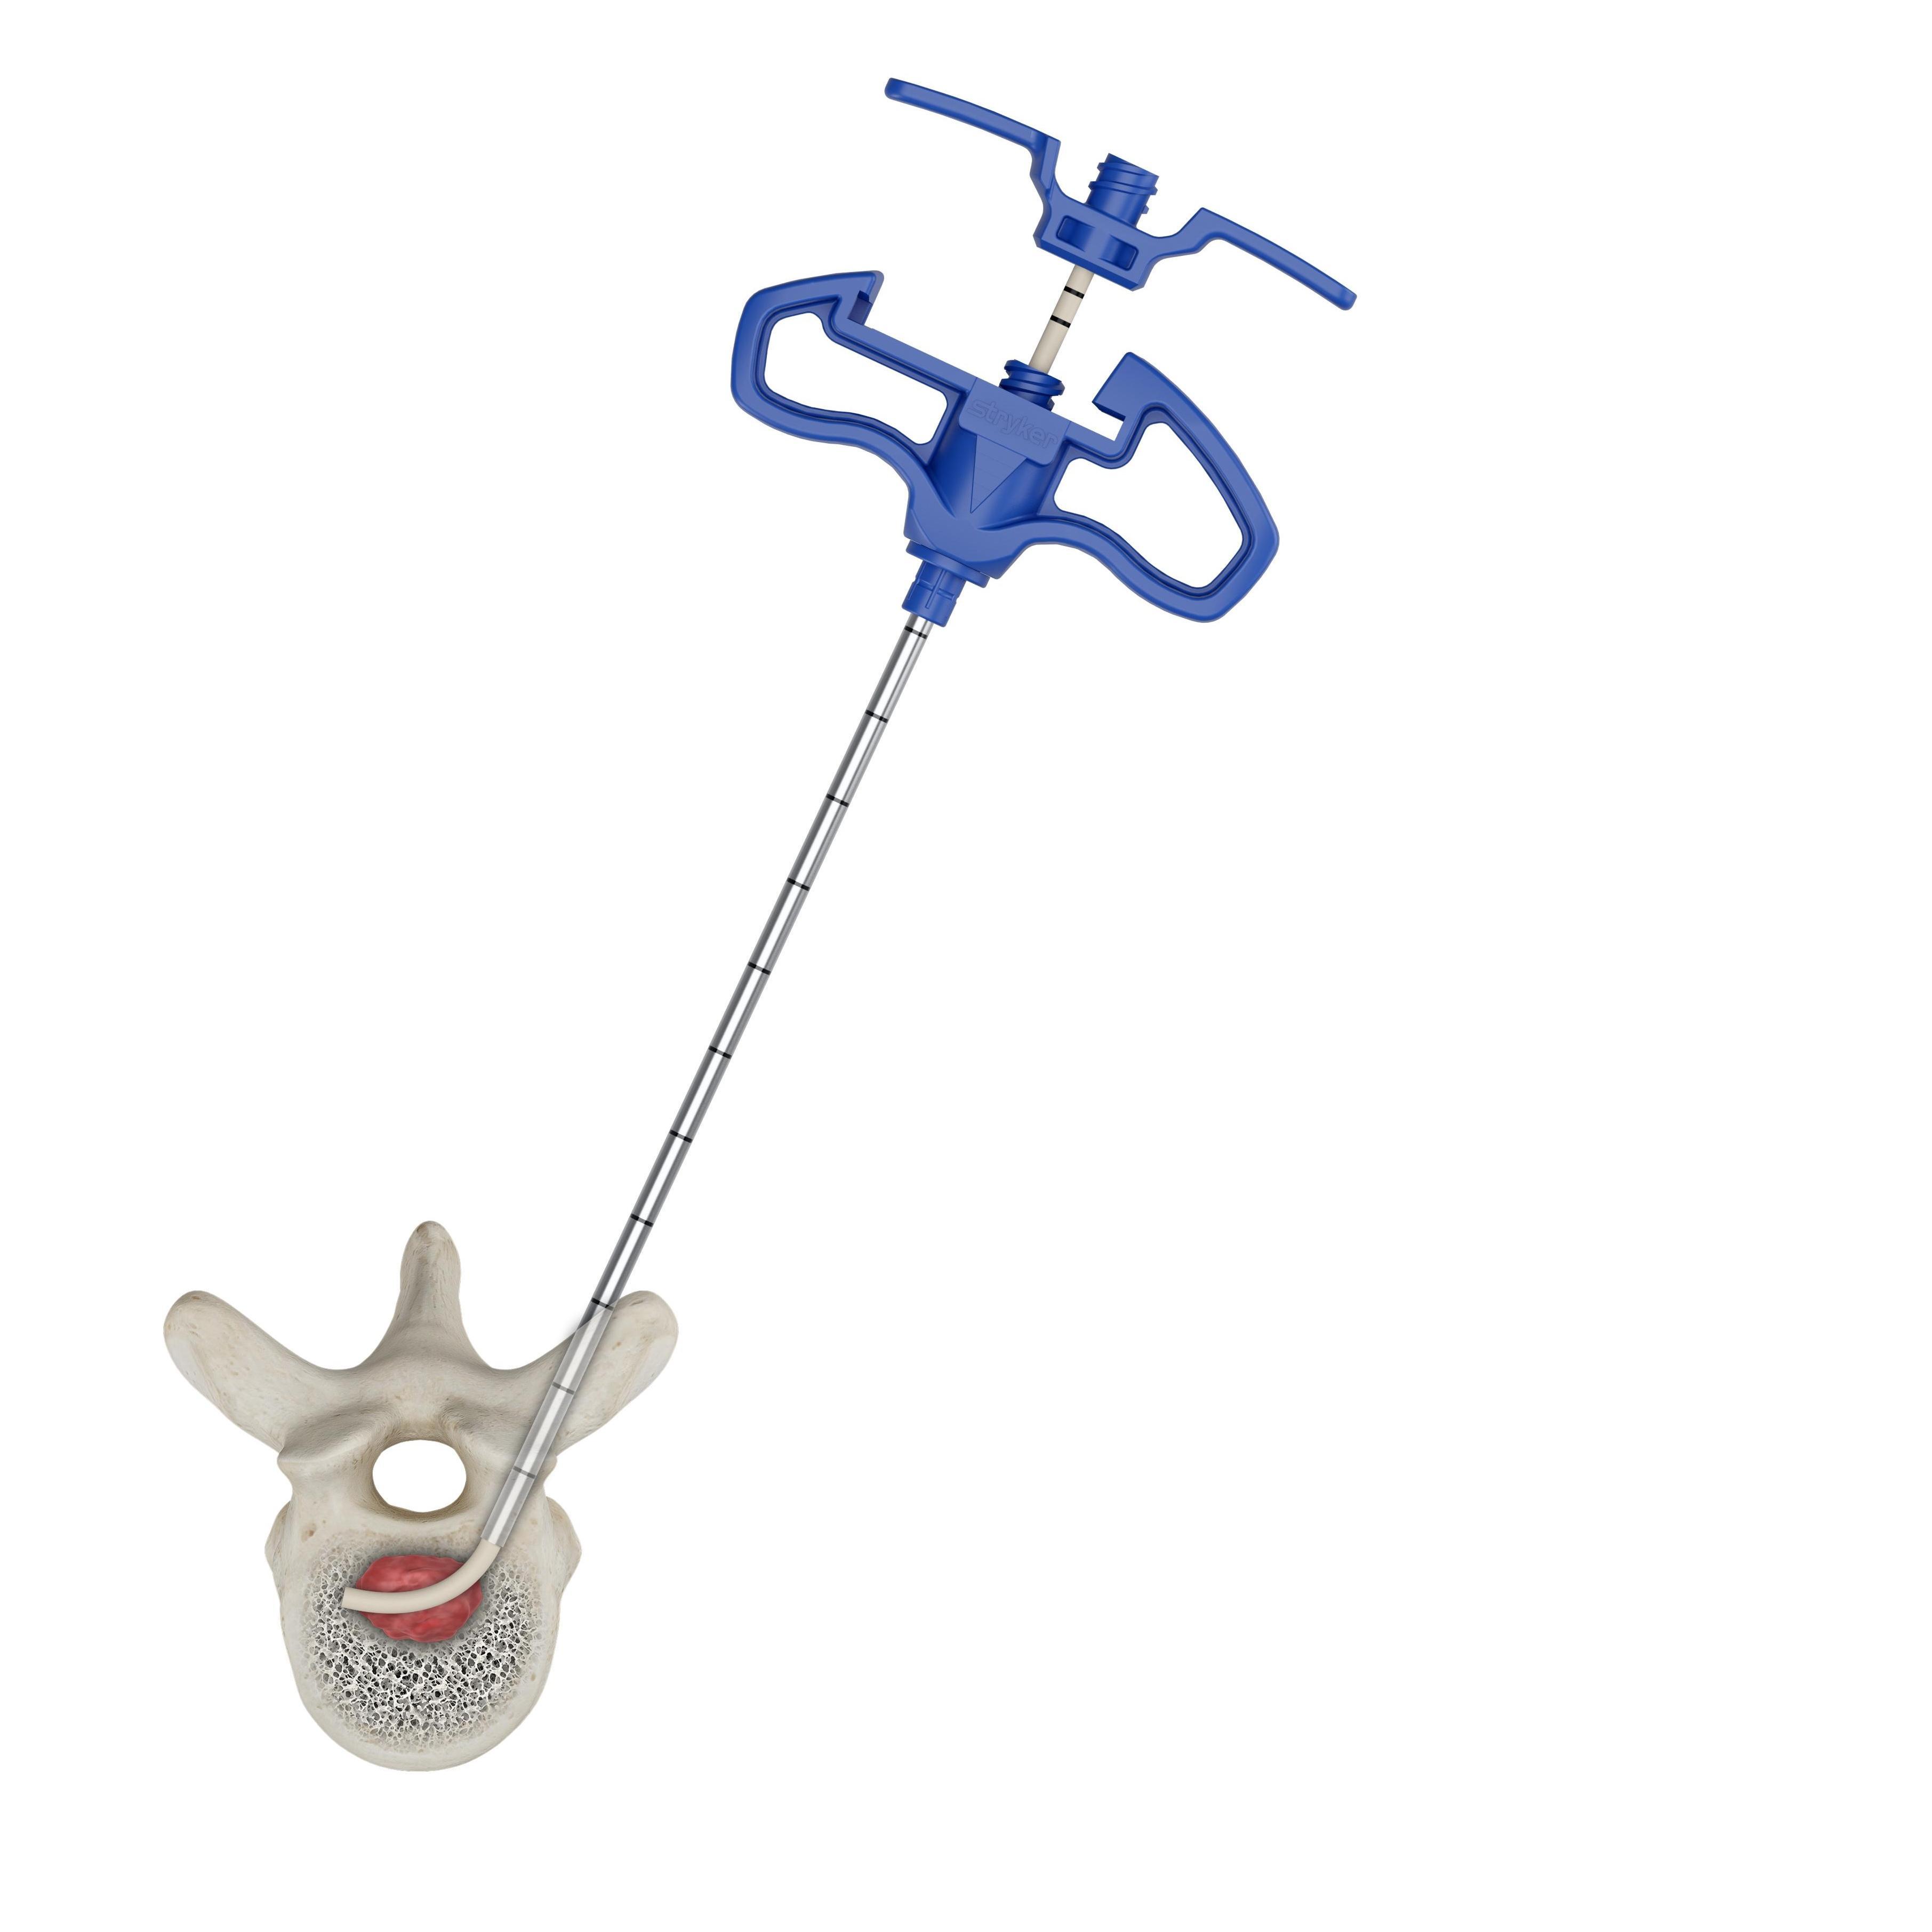
3
Release the lever, then remove the introducer handpiece, leaving the sheath in place.
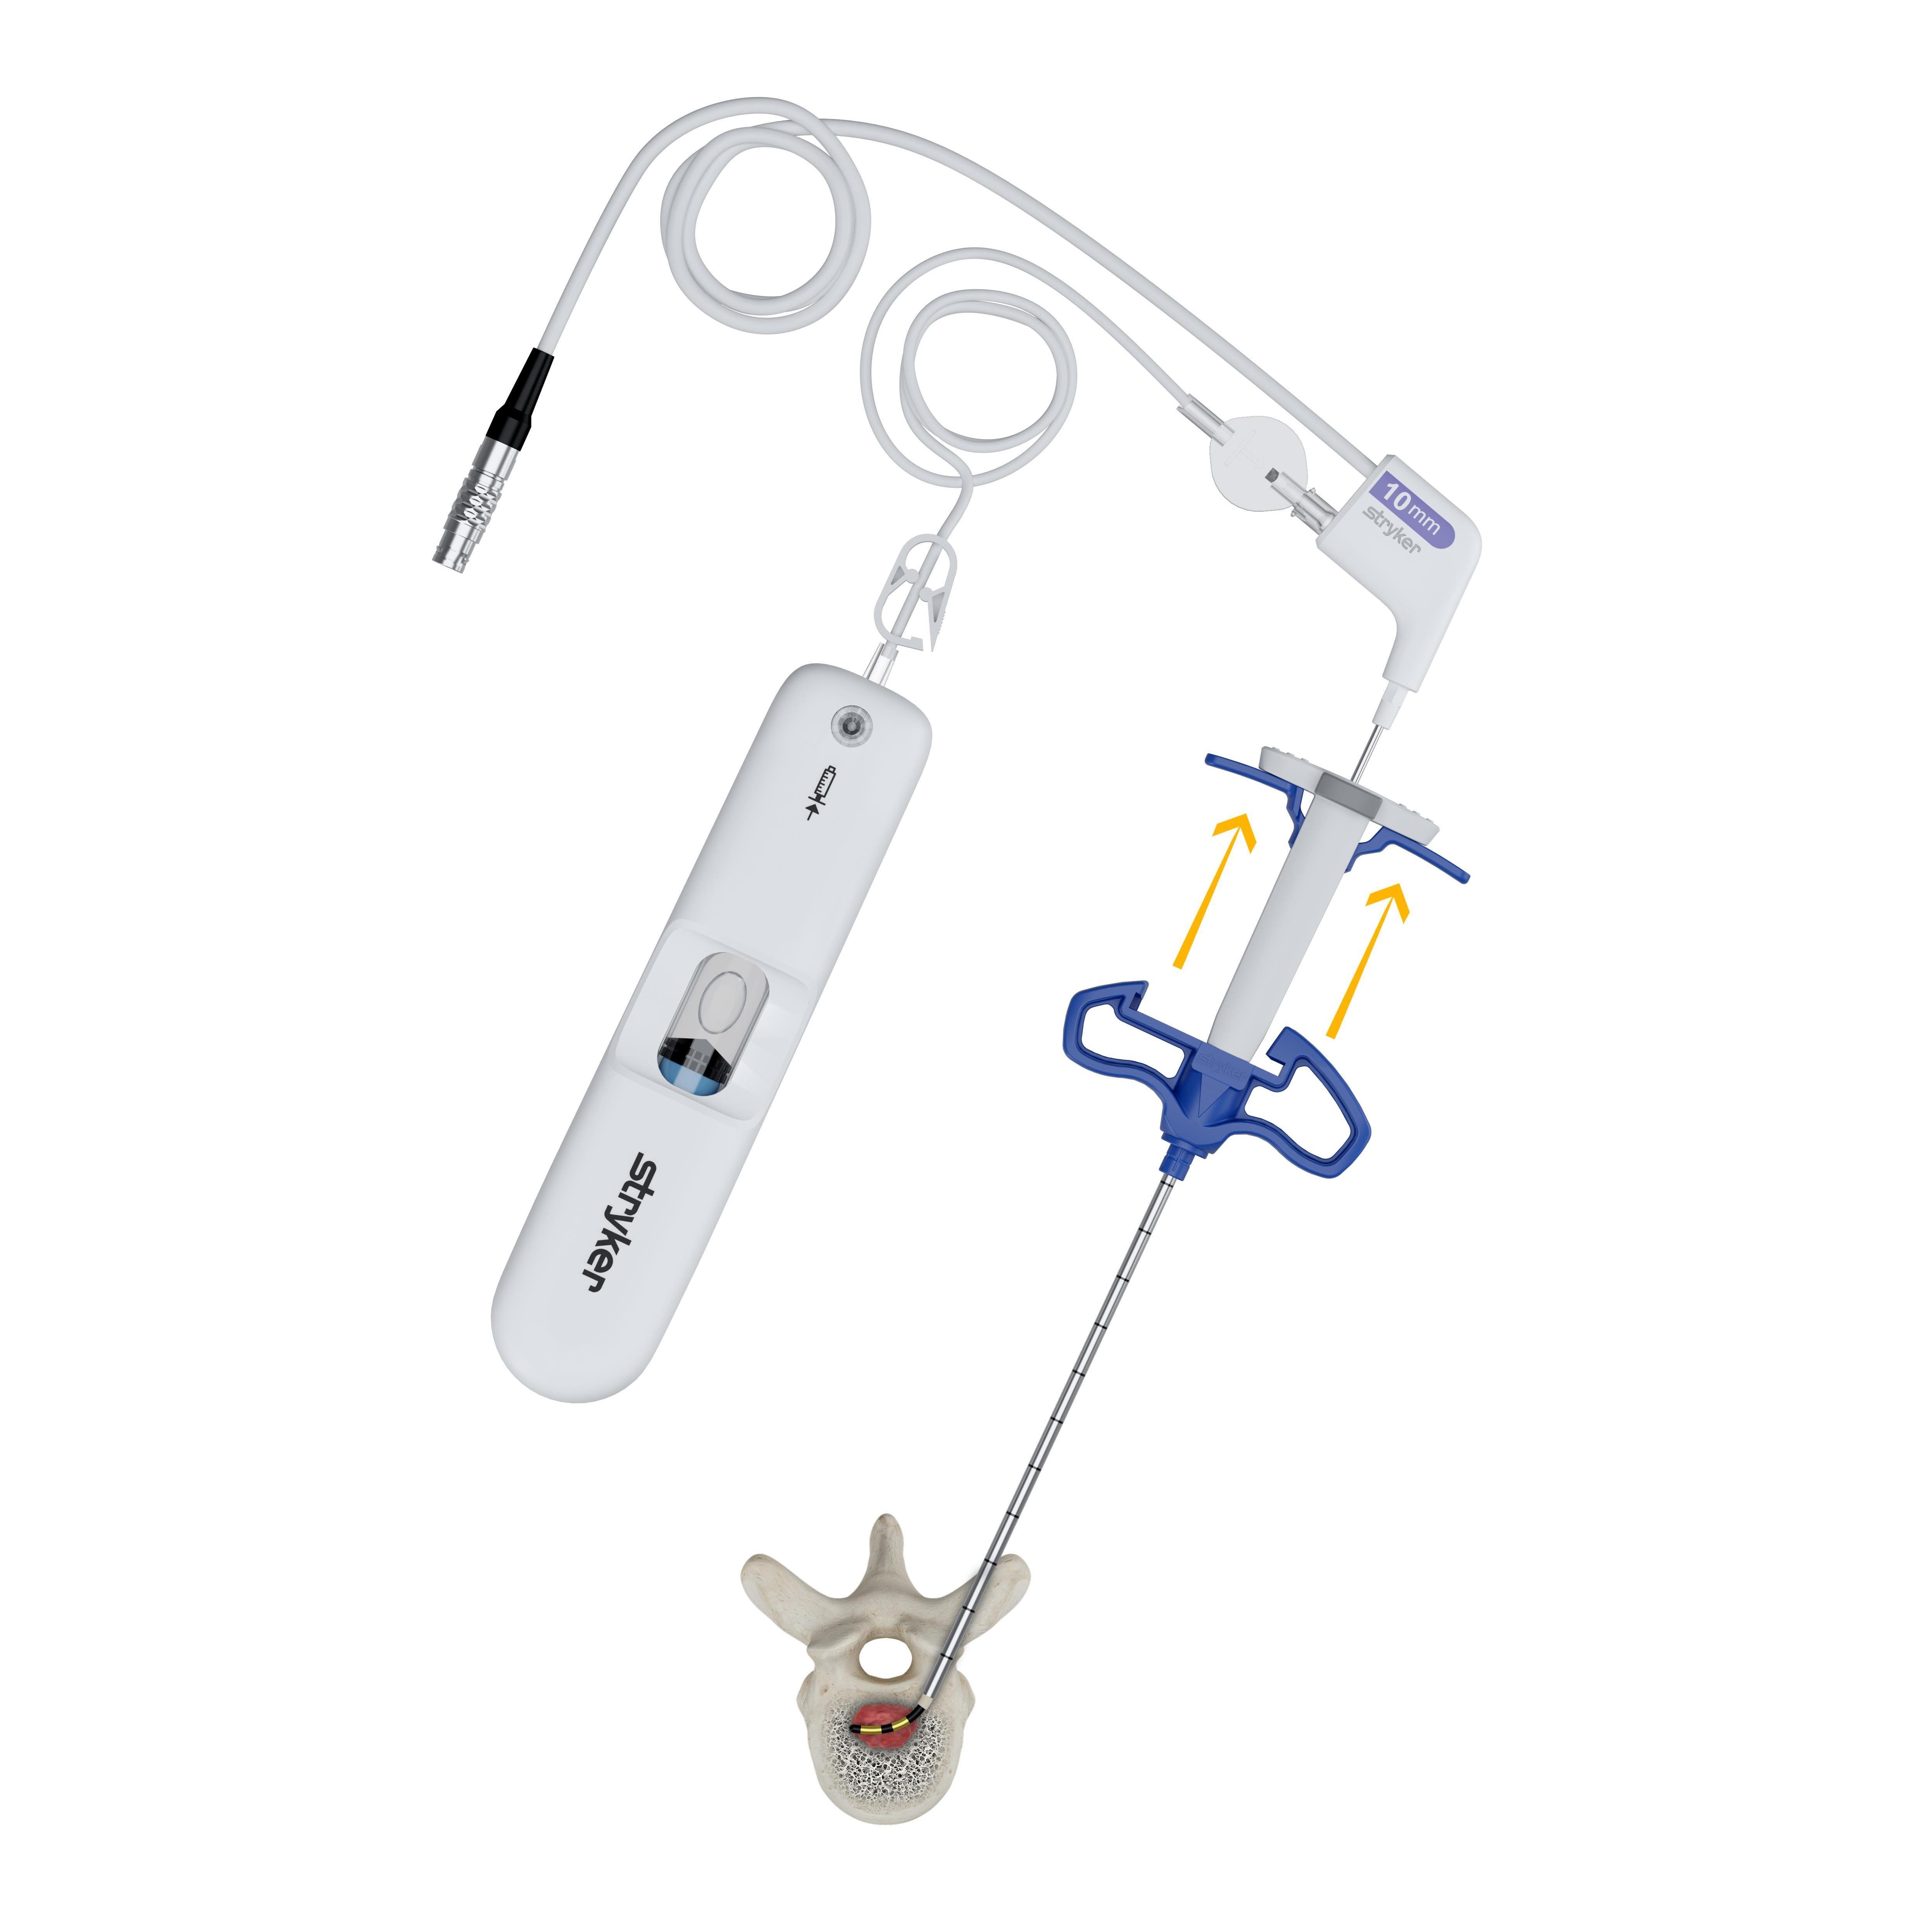
4
Insert probe and adjust placement of spacer, then pull back the working conduit and start flow of sterile saline to the probe.
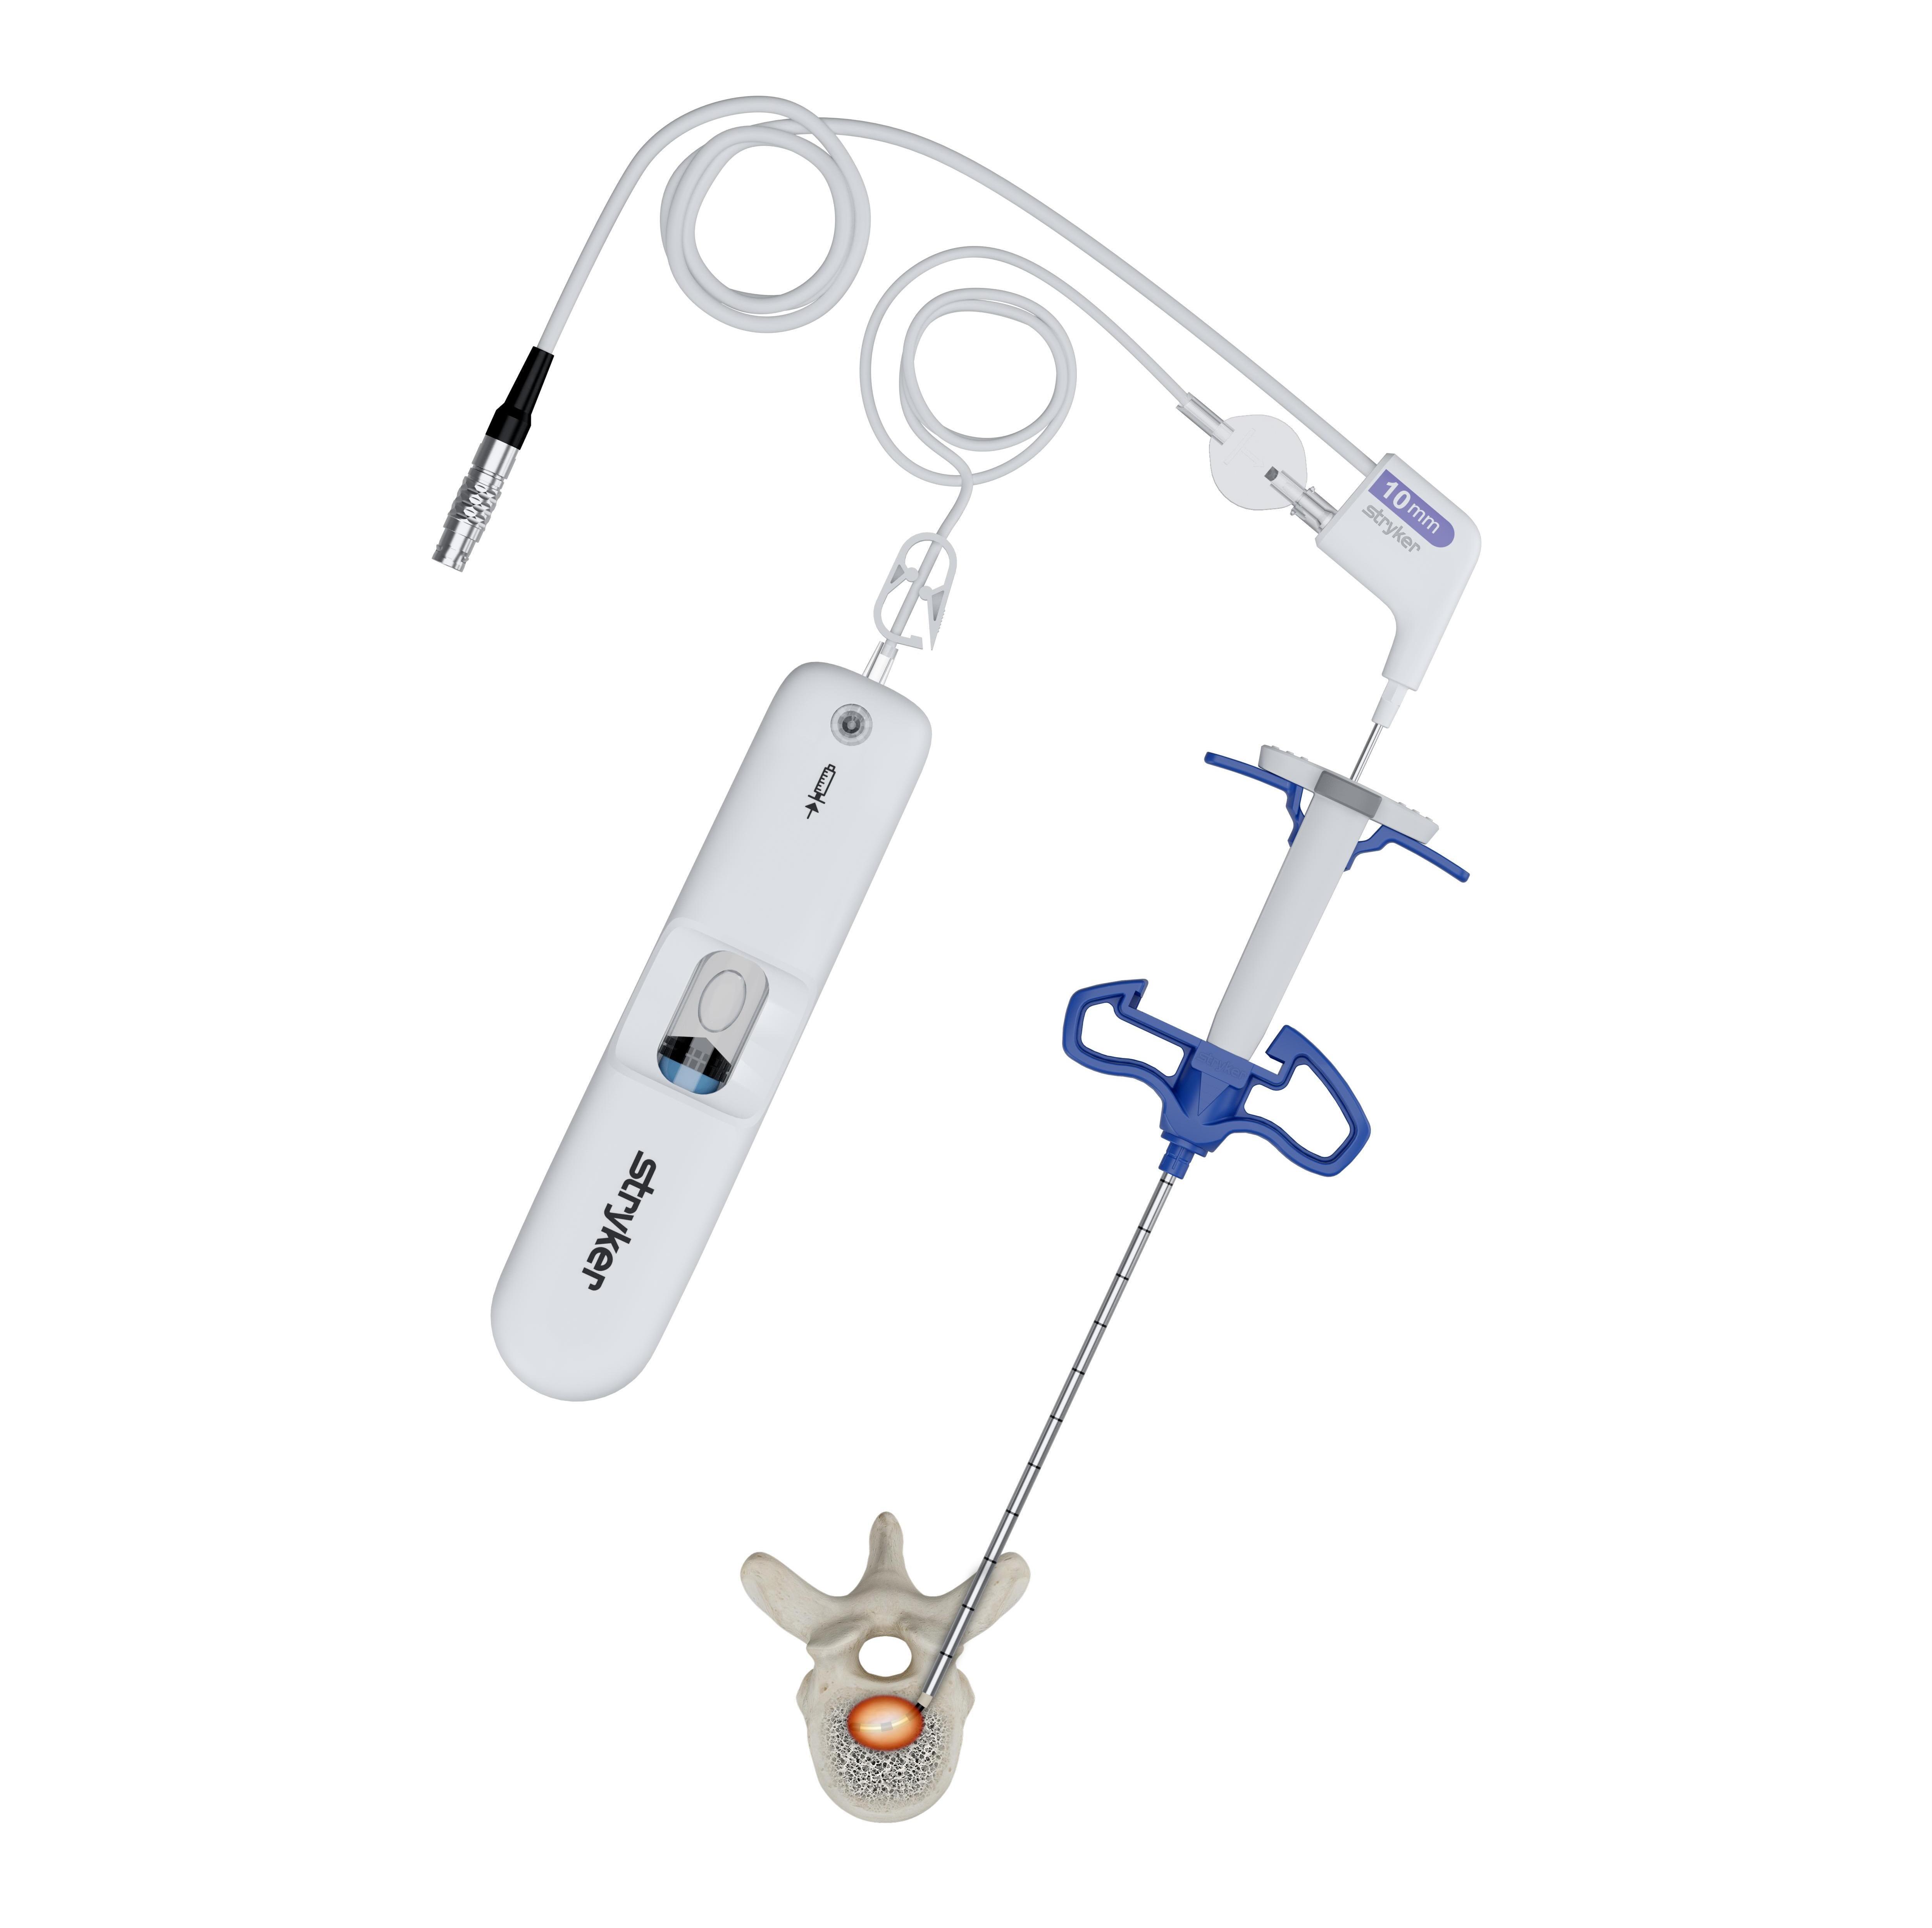
5
Start ablation.
If performing vertebral augmentation, refer to the Instructions for Use (IFU) for the selected device.